Creating your first campaign
This guide shows the fastest way to go from design system to finished draft in the Campaign Editor.
Better Email is a design-system-driven platform. To create a campaign, you need a design system that already defines the available modules and editable fields.
Step 1: Create the campaign
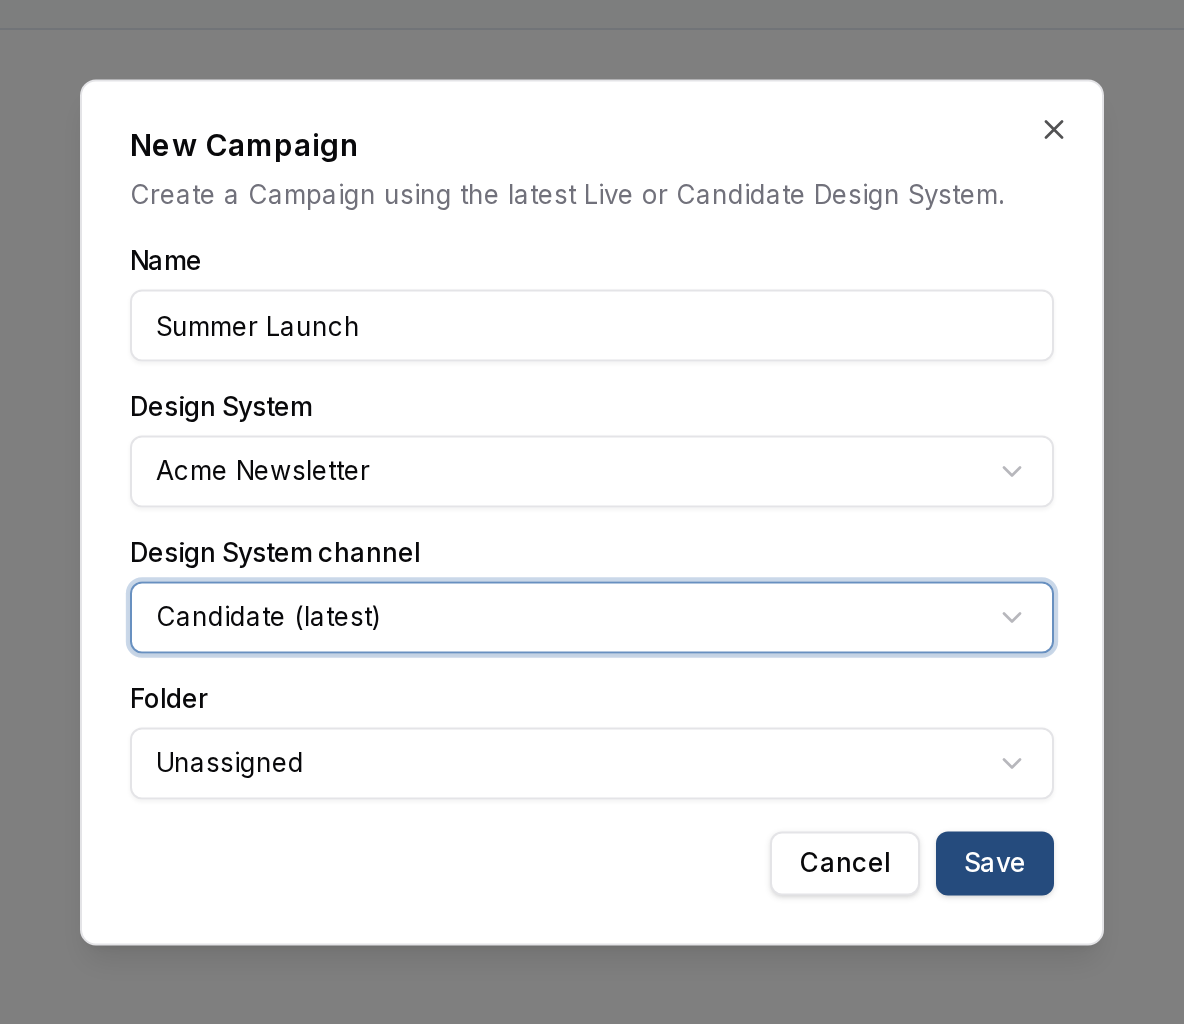
Create a new campaign, give it a clear name, and choose the design system you want to use.
If your workspace uses folders, choose the right folder at this step so the campaign starts in the right place.
If your Organization uses Campaign types, pick a type instead. It decides the Design System, Folder and the rest, and the dialog only asks for what the type leaves open.
If you are an Admin or Designer and the Design System has a version staged for testing, you can also choose its channel:
- Live (latest) for a normal Campaign using the published Design System
- Candidate (latest) for an editable test using the staged version
The channel cannot be changed after creation. Editors do not see this choice; their new Campaigns use Live.
Step 2: Open the Campaign Editor
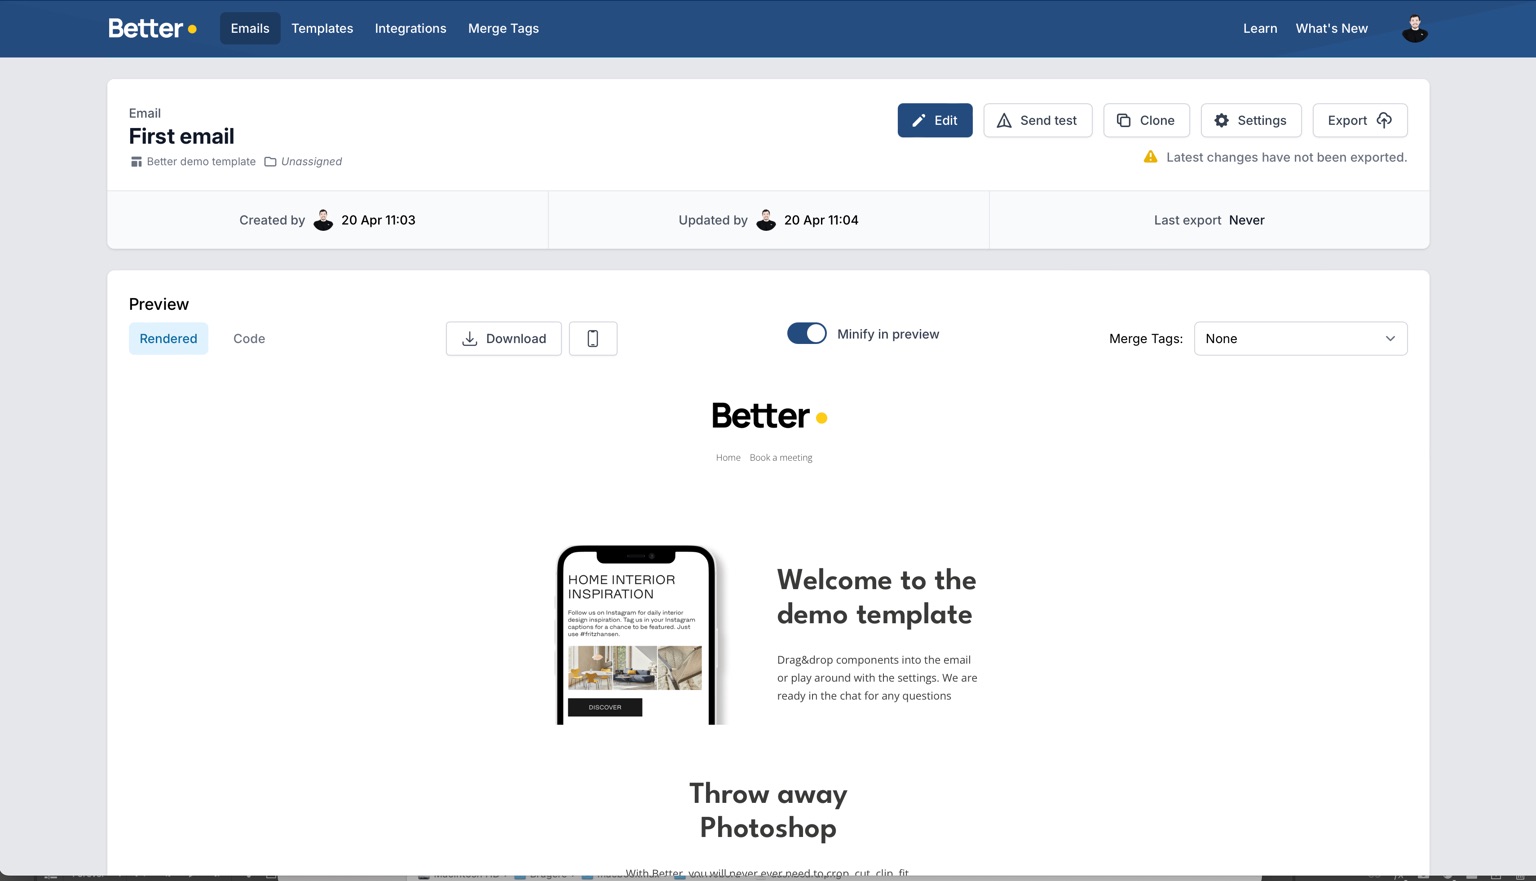
When the campaign is first created, it may only show the shared layout from the design system. Open the Campaign Editor to start building the content.
Inside the editor:
- the left side shows the live preview
- the right side contains the sidebar tabs
Step 3: Add modules
Open the Modules tab in the sidebar and add the modules you need for the campaign.
Typical first modules might include:
- hero
- article section
- product row
- CTA section
Arrange them in the order you want the email to read.
Step 4: Edit the content
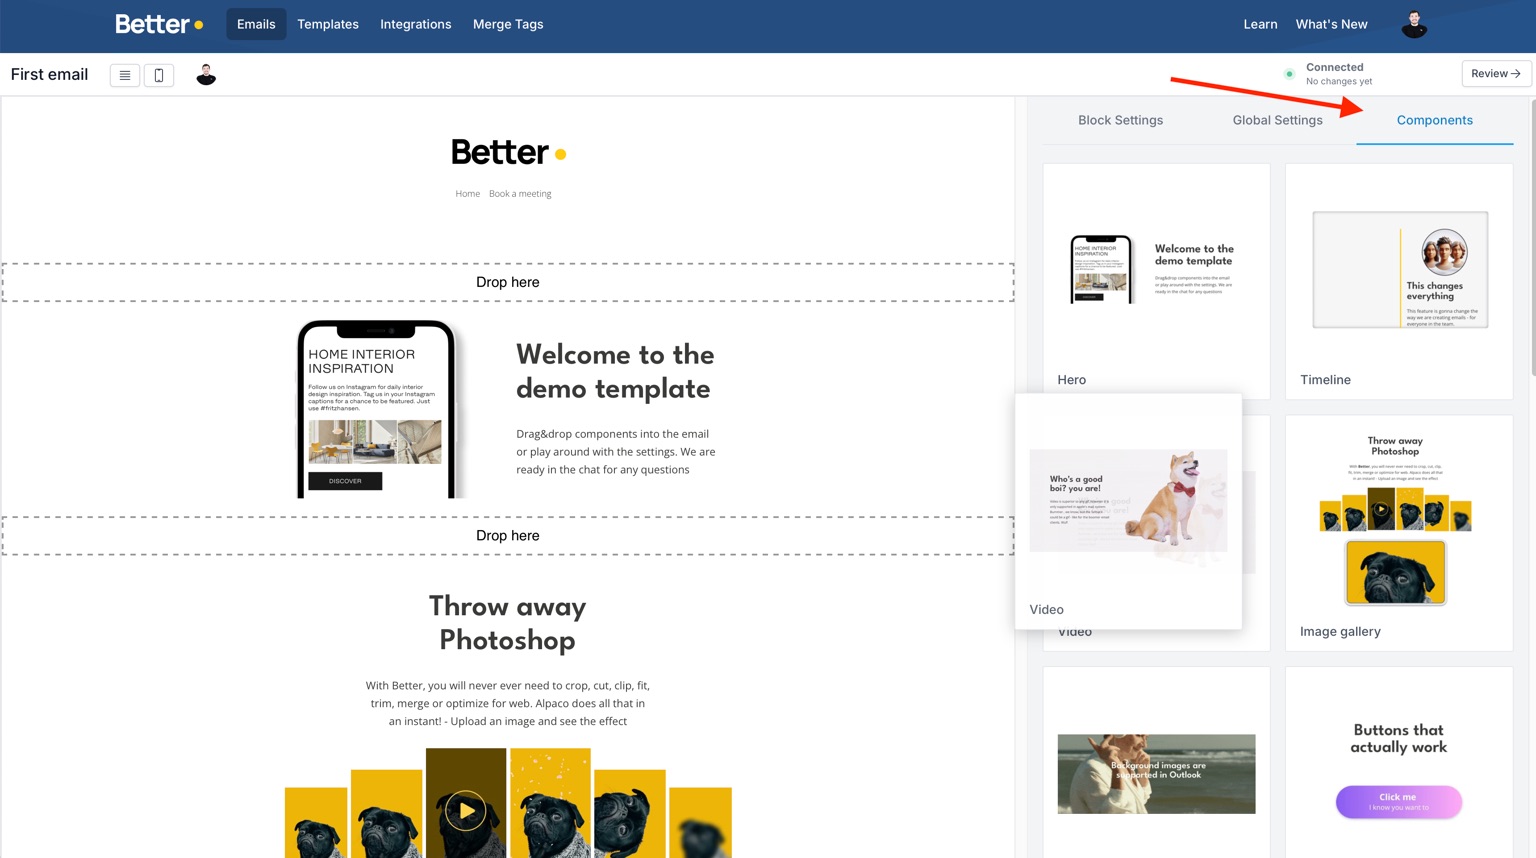
Select a module in the preview, then use the Block tab to edit its fields.
Switch to the Global tab when you want to change settings that affect the full campaign, such as shared styling, language, or footer behavior.
As you type, the preview updates live.
Step 5: Check mobile and edge cases
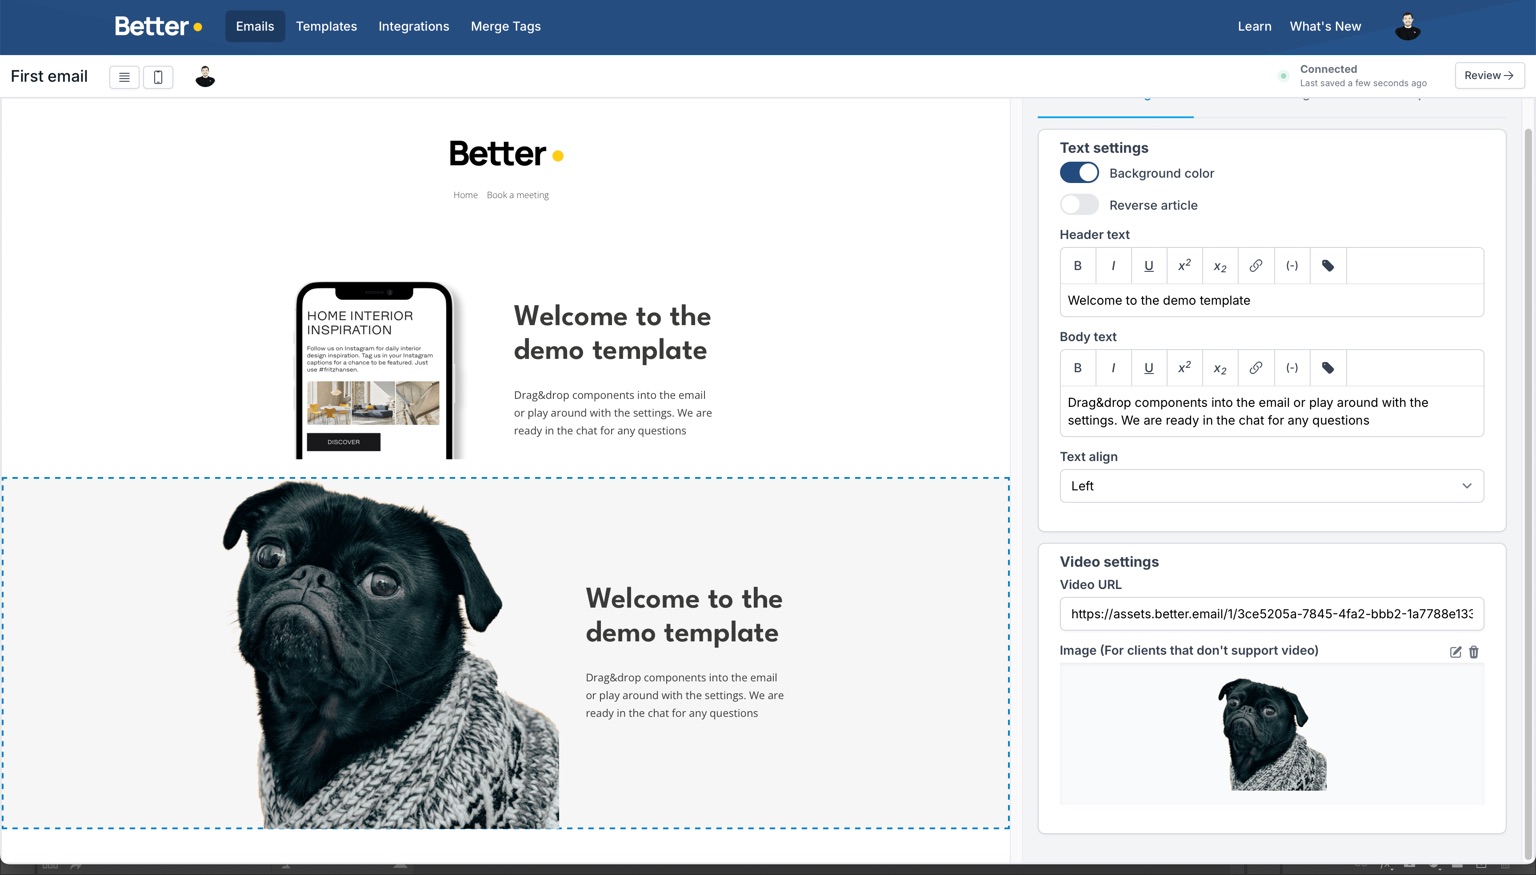
Before moving on, switch to mobile preview and look for:
- long headlines
- awkward image crops
- CTA wrapping
- spacing problems
If a field is required or has validation rules, fix those now so review does not get blocked later.
Step 6: Review, preview, and export
Once the draft looks good:
- Review the campaign.
- Test it in the ways your team normally uses.
- Export it to the correct integration.
If your team uses segmentation, approvals, or Betty, those can all become part of the workflow from here.