Templates
Only users with role Designer/Developer or Admin can access and edit templates.
This is where the magic happens 🪄.
In Better, templates are much more than some HTML and CSS. A Template consists of:
- A Template Base
- A set of Modules
- A set of Assets
When creating a new Email, the user selects a Template to use for the email. The configuration of the Template decides the design, the inputs and the whole editing experience when creating the Email.
We will deep-dive into the Template concept in this section. If you just want to get your hands dirty, checkout this guide:

The Template Editor

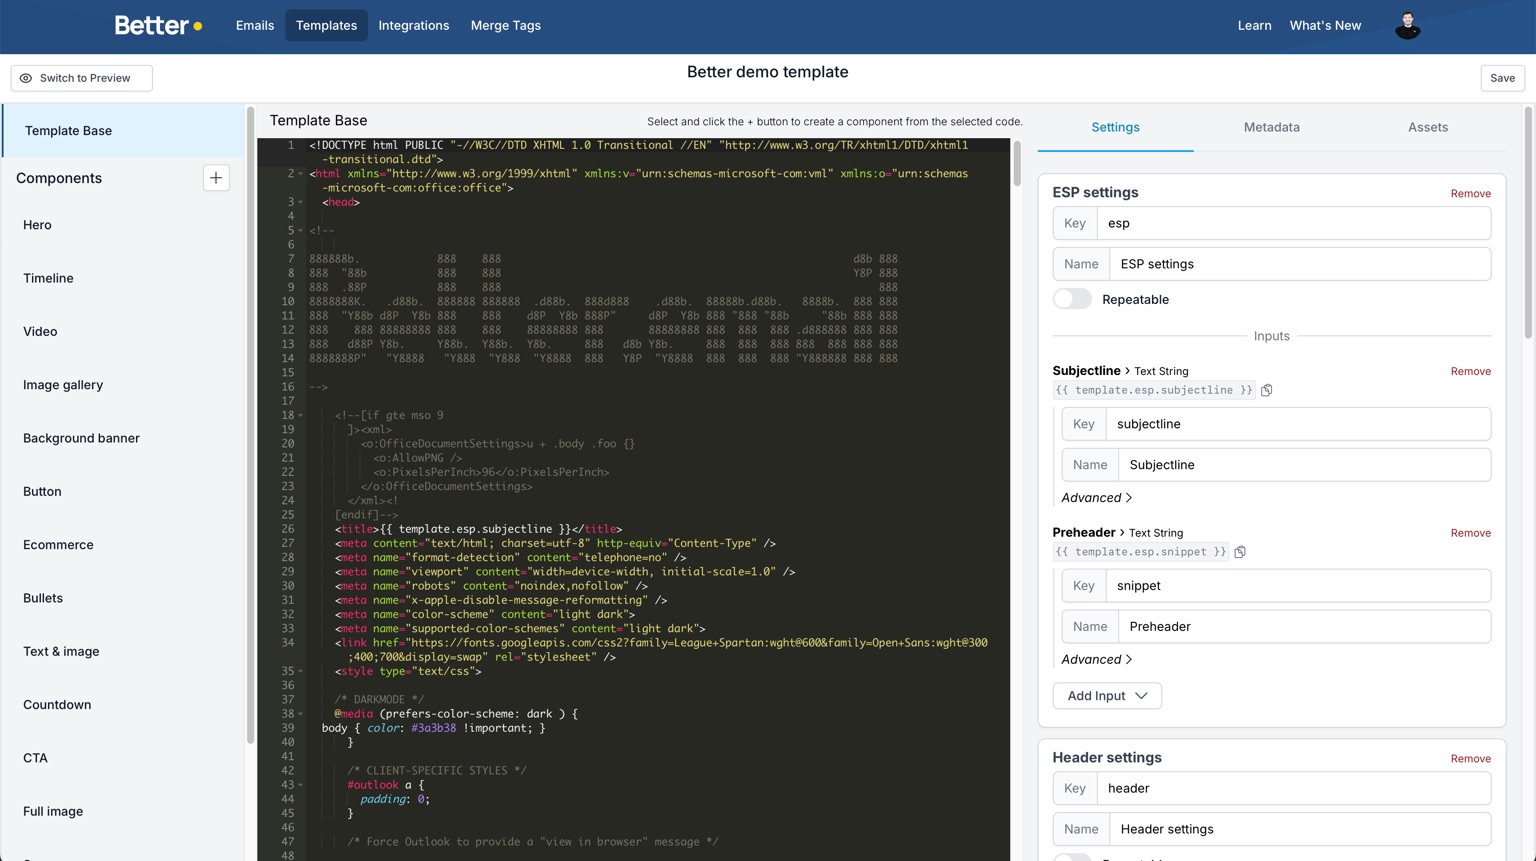
The Template Editor is where all the work with the template happens. It's split into 3 panes:
-
Left pane - List of the different parts of the template, i.e. the Template Base and all its Modules. It's from this pane you add a new Module. Click any of the items in the list, and the main and right pane changes.
-
Main pane - The code editor, with HTML/Liquid syntax highlightning.
-
Right pane - Settings and configurations. This is where you build out the Settings and Inputs for the template.
Preview Mode
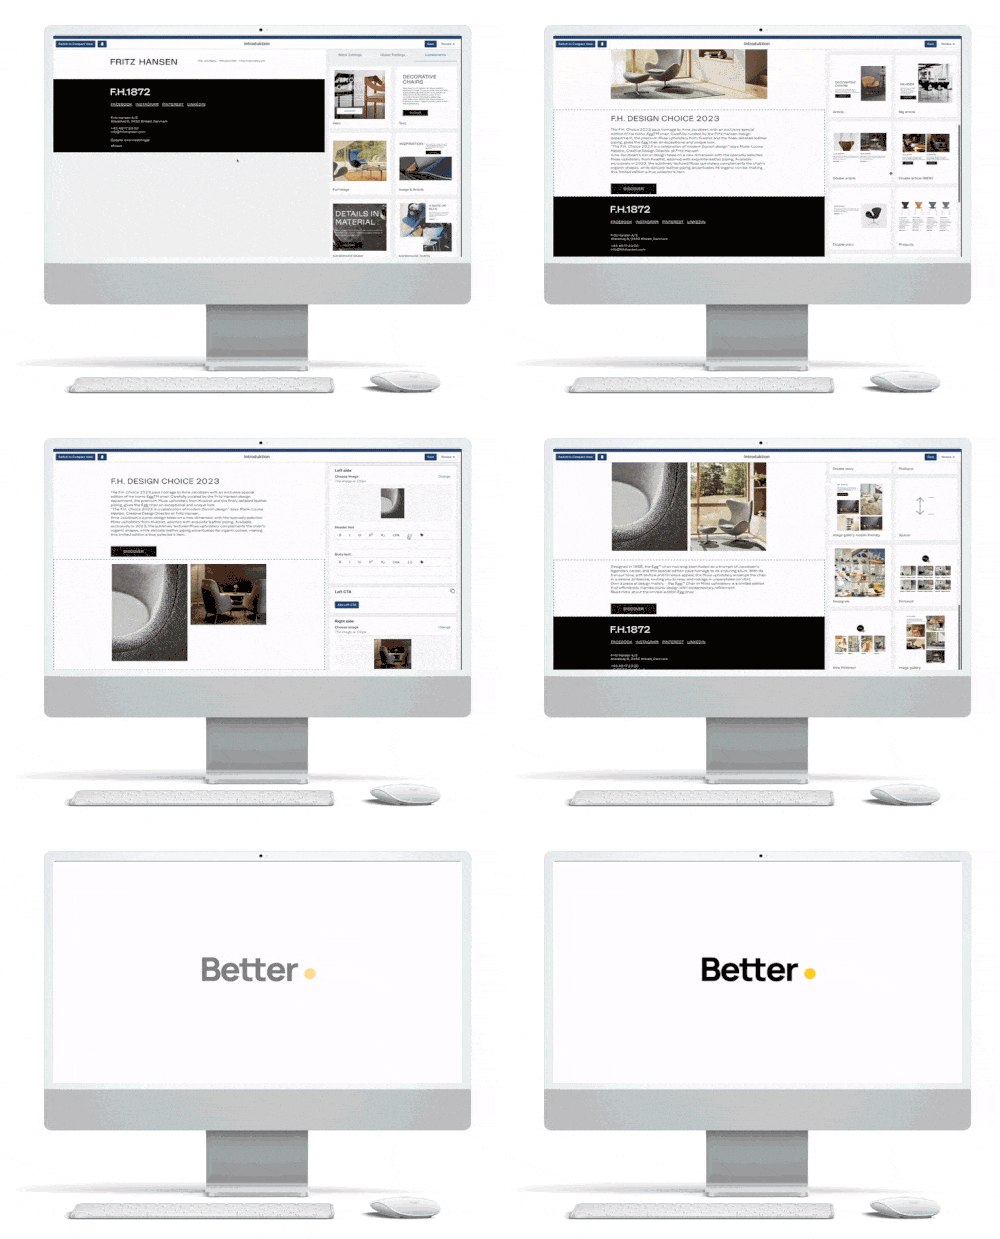
In the top left, you will find a Switch to Preview button. This will active Preview Mode, which will change the entire editor into a preview of how the template will look in the Email Editor.
The Preview Mode will be extremely useful when you are building up a Template and need to test how it will work for a marketeer in the Email Editor.
In Preview Mode, the selected Module will be rendered within the Layout Base.
Template Base
The Template Base consists of the HTML/CSS code wrapping the contents, sometimes referred to as the layout. This usually includes the <html> and <head> elements, as well as any shared design between all emails (such as a header with logo, and a footer with links).
In the editor, you will find the Template Base at the top of the left pane. When selected, you will be able to edit the code in the main pane. In the right pane, you can edit template-widesettings and upload Assets.

Content Placement
When creating an email, the chosen Modules are rendered within the Template Base. The {{ content }} tag defines where in the code the modules should be rendered.
A Template Base must have a {{ content }} tag.
Template Settings
In the right pane, you will find the Settings. The Settings for the Template Base are template-wide, meaning they are related to the entire template/email and not a specific modules. The variables can also be access from all Modules!
Examples of Template Settings:
-
Theme Selection - Dropdown that changes the overall design/styling, applying to all modules (eg. Normal, Christmas, Black Friday).
-
Country/Language selection - Dropdown with list of countries (eg. DK, UK, SE). Links in footer and header changes based on selection.
-
Preview Text - Text input for the preview text shown in some email clients.
In general, if a setting should change something in the Layout Base and/or one or more modules, put the setting in the Template Settings.
Assets
When creating your template, you will often need to upload assets such as images and fonts to be referenced within the template. It could be a logo, social icons, any custom fonts used etc.
In the Template Editor, you will find the Asset tab in the right pane, next to Settings. From here, you will be able to upload assets and copy their URL, which you can then insert directly into the template. The URL for an image asset is not optimized or resized by default, so we recommend that you use the resizeImage filter when using the images in your template or module.
The assets are uploaded to a highly available server (Amazon S3) and we are using Cloudflare's CDN to make sure the assets are served as fast as possible for the users.
To make it convenient for you, there's no additional charge for using Assets, both storage and requests are free of charge.