Design System Editor
The Design System Editor is where design system authors build and maintain the system behind every campaign. It combines code editing, input modeling, assets, metadata, preview, and version history in one workflow.
Top bar
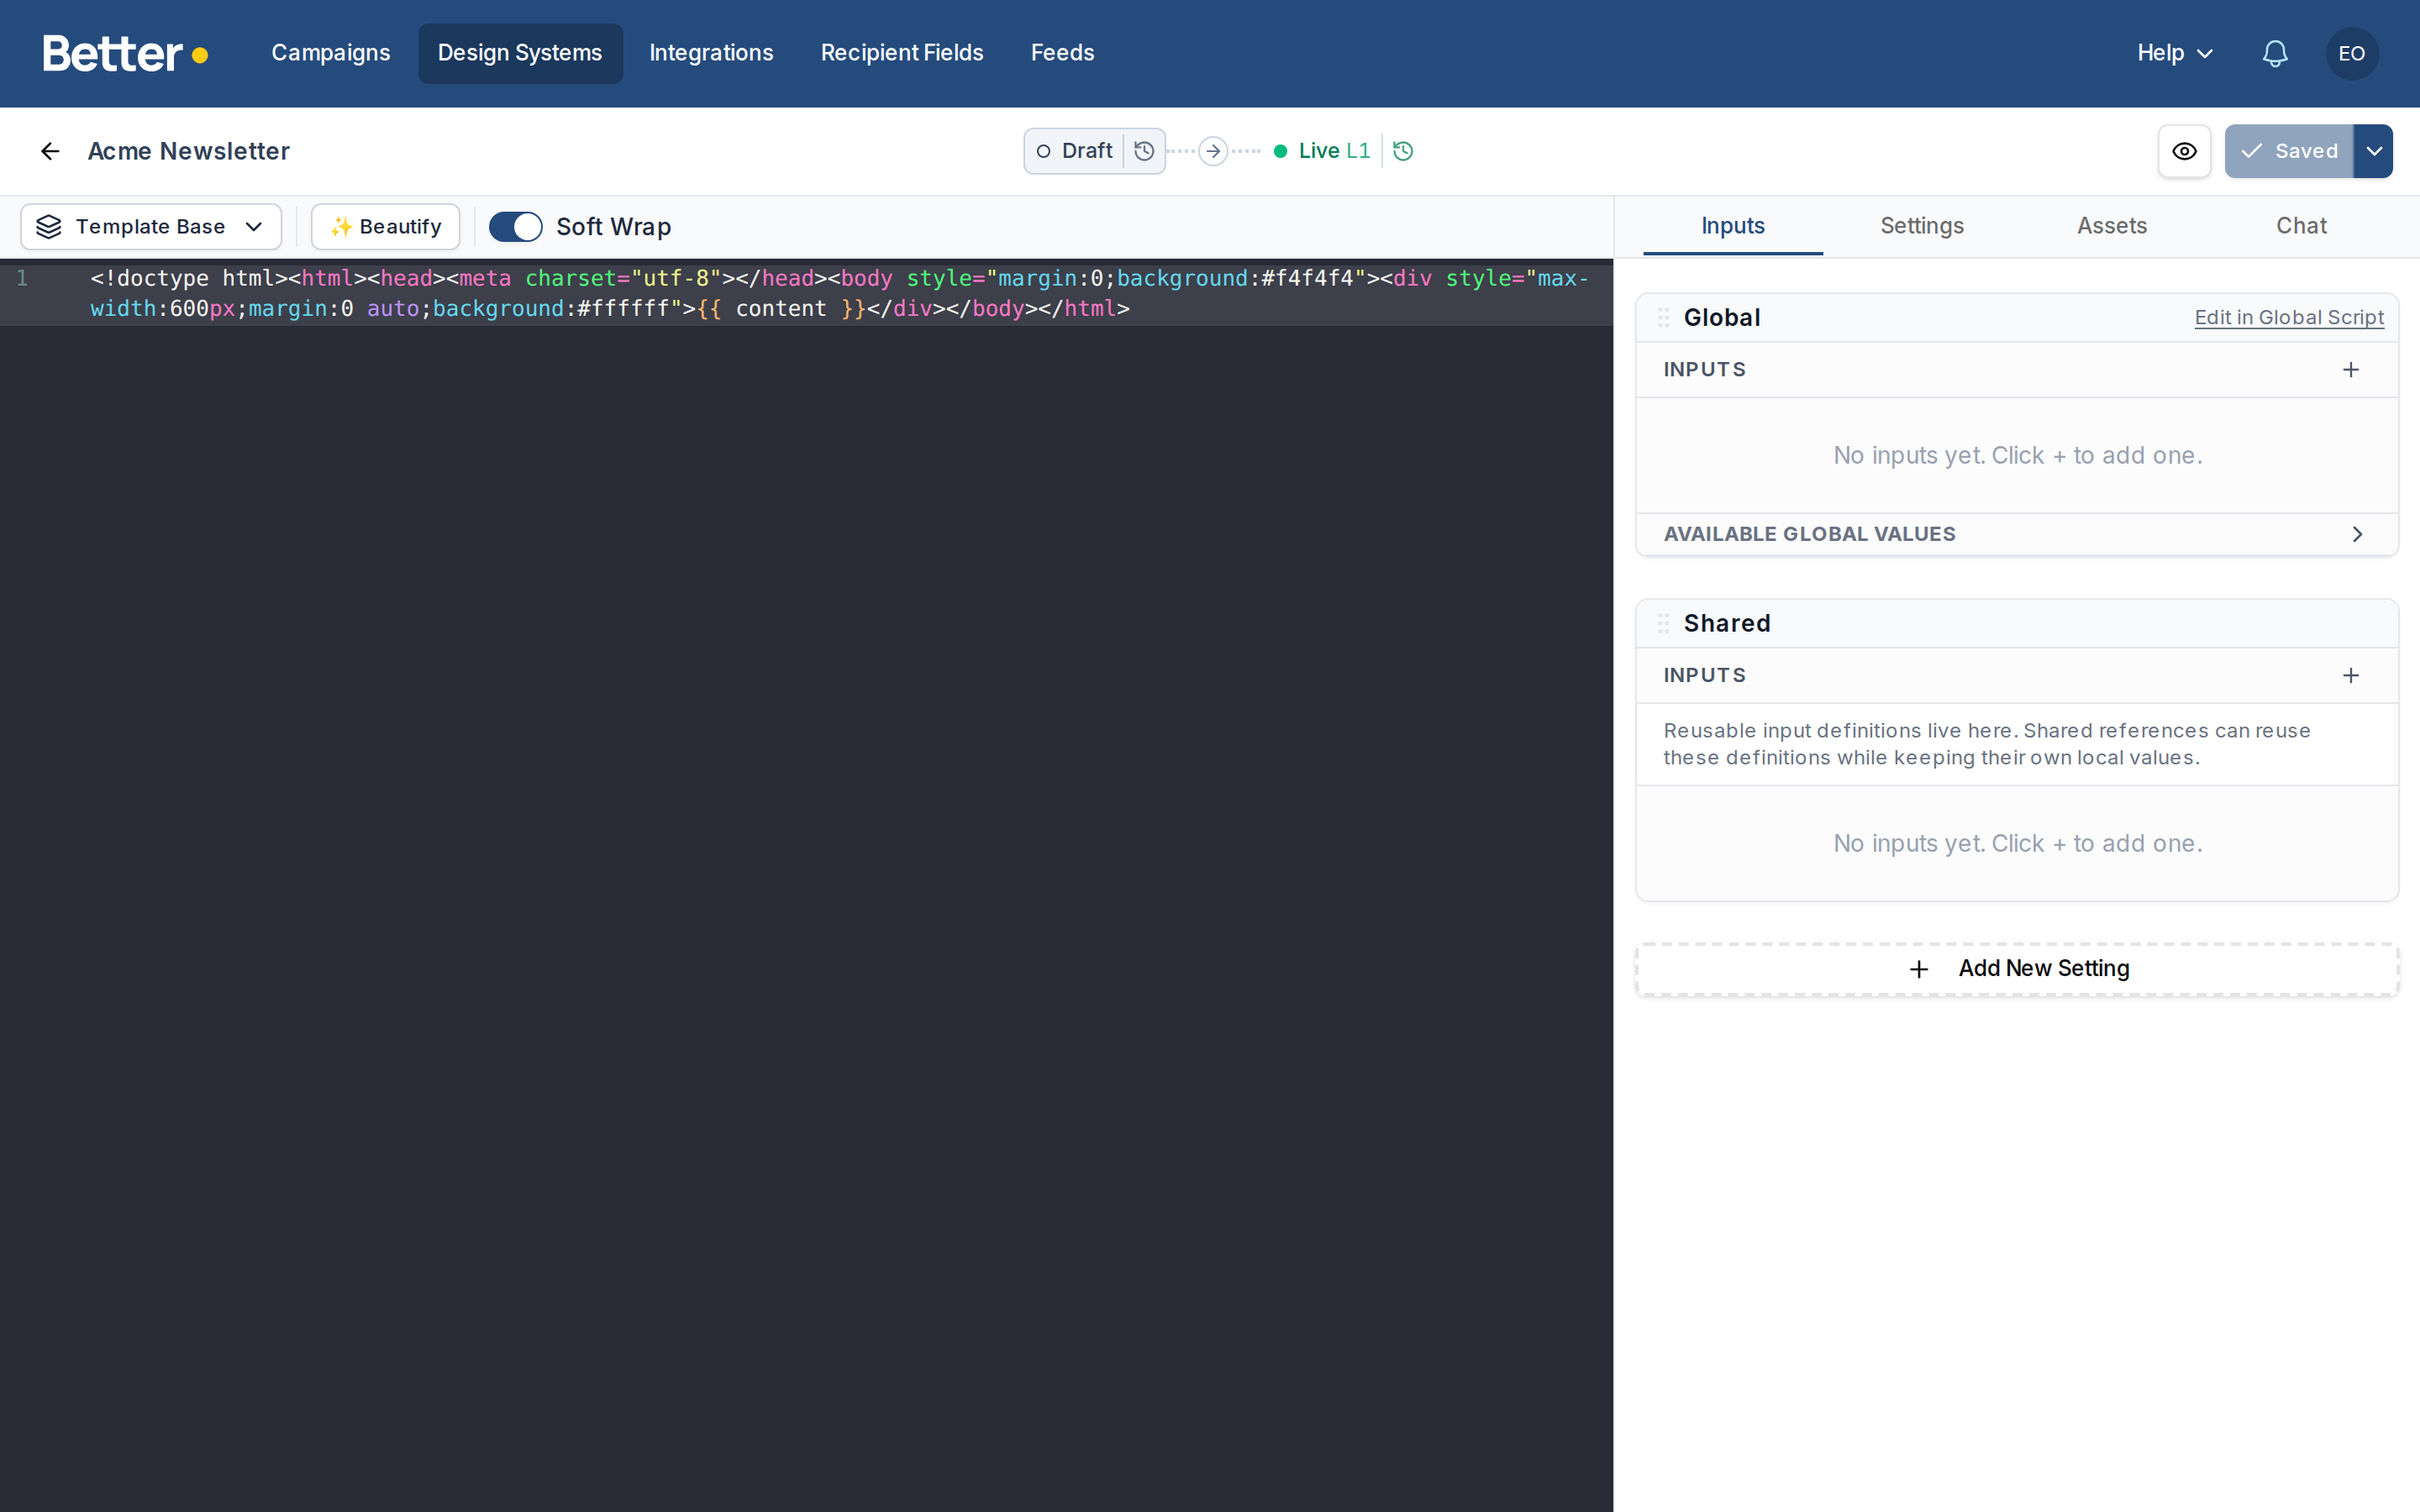
The top bar is where most high-level actions live:
- the design system name beside the back button
- version timeline in the center, showing the Draft stage, Live, and Candidate when candidate testing is active
- Preview to open a connected preview window
- Save to persist the current draft, with a dropdown for Save and create version
The editor also supports Cmd/Ctrl + S for saving.
The module picker sits in the code editor's subbar beside Beautify and Soft Wrap, keeping the timeline centered even when module names are long.
Version history lives in the timeline itself rather than in a side panel. The clock icon beside Draft opens the draft line, and the one beside Live opens the release history. See Versions below.
Working areas
The editor is organized around three main concerns:
- code editor for HTML and Liquid
- right-side tabs for inputs, settings, assets, and chat
- preview window for checking how the design system behaves in the Campaign Editor
Code editor
The code editor lints your Liquid as you type. If you write invalid syntax — an unclosed {% for %}, an empty {{}}, a malformed expression — a red marker appears in the gutter next to the offending line and the affected text is underlined. Hover the marker for the message and the parser's location info.
This catches most "broken design system" cases without having to open the preview window. Render-time issues that depend on values (for example a filter throwing on a particular input) are still surfaced separately by the render error banner in the preview.
Inputs
Use the Inputs tab to create and manage the fields that marketers will work with.
This includes:
- normal setting groups
- conditional visibility
- repeatable settings
- feed-backed settings
- validation rules on inputs
- friendly labels on predefined color options for both color inputs and rich-text color palettes
Settings
Use the Settings tab to manage details such as:
- module name
- hidden status
- conditional module visibility with Only show if
- thumbnail image
- content-zone restrictions on modules
- content zones on the template base
- AI metadata used by Betty
For the content-zone model and how zones flow through to the Campaign Editor and Betty, see Content zones.
AI Metadata is available for both the template base and individual modules.
This is not mainly for telling Betty how to build the design system. It is for telling Betty how to use the design system and modules well when she is helping marketers build campaigns.
At a high level:
- use template-base AI metadata for guidance about the overall design system
- use module AI metadata for guidance about one specific module
For the full model and examples, see Betty AI and AI metadata.
Assets
Use the Assets tab to upload files and copy their URLs into your design system or modules.
Chat
If enabled, the Chat tab lets you work with Betty directly inside the Design System Editor.
Betty can do everything the user can do through the UI, so she is useful both for making changes and for answering questions like:
- "How do I set this up?"
- "Can this design system support that workflow?"
- "Where should this setting live?"
- "What is the best way to model this?"
Template base vs modules
Use the template base for the shared wrapper around the whole email. This is where global HTML structure, common CSS, and shared sections usually live.
Use modules for repeatable content blocks that marketers add into campaigns.
As a rule of thumb:
- if it appears on every campaign, it probably belongs in the template base
- if a marketer might add it, remove it, or repeat it, it probably belongs in a module
Preview workflow
Preview is especially useful when you need to see how settings behave for a marketer, not just whether the HTML compiles.
Use preview to check:
- whether defaults look good
- whether conditional visibility makes sense
- whether module-level show conditions match the intended Global values
- whether repeatable settings are easy to work with
- whether global design system settings flow correctly into modules
- how the design behaves with dark mode on: the colour scheme menu next to the size toggle shows your own dark styles and the recolouring Gmail does regardless (see Dark mode preview and Support dark mode)
Render errors
If your design system or a module contains invalid Liquid (for example a {% for %} block without a matching {% endfor %}), the preview window shows a red banner at the top.
The banner tells you:
- Where the error happened — either "Template base" or the module's name
- Line and column parsed out of the Liquid error message
- The error message itself (e.g.
tag {% for product in product_items %} not closed) - A code snippet with a caret pointing at the offending column, available when you click "Show details"
Versions
Version history is built into the editor's timeline. Your draft line holds two kinds of entry:
- A save is any write to the draft, including the autosave that runs after a period of inactivity. Saves are not numbered.
- A version is a numbered, named save such as
v8 · Summer refresh. Only versions can be published.
Save writes a plain save. To create a version, use the dropdown next to it and choose Save and create version, then give the version a name and an optional description.
The clock icon beside the Draft stage opens the draft line, newest first. Your working draft is pinned at the top, versions are listed below it, and runs of plain saves are folded into a single row you can expand. Selecting any entry opens it read-only in the editor, with an amber banner offering to restore it or step through neighboring entries.
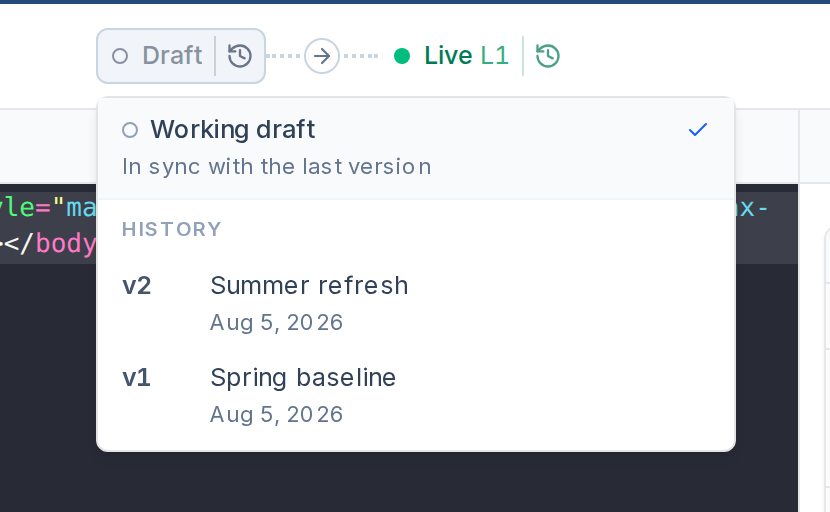
Once a design system has been published, a Live stage appears in the timeline with its release number, for example Live L4. The clock icon beside it opens the release history: every release with its number, the version it came from, who published it, and any publish comment.
When candidate testing is disabled, use the arrow from Draft to Live to publish. If the draft already matches a named version, that version is published. If there are newer changes, the editor opens Save a version with publishing selected so the version and release are created together.
If you are about to make a risky refactor, create a version first.
If your organization has candidate testing enabled, the first version is published directly and later publishing gains a staging step. Later versions are promoted into a Candidate slot and tested in real campaigns before they go live.
Recommended habits
- Start with strong defaults so preview looks finished.
- Keep module inputs focused and easy to scan.
- Hide modules instead of deleting them when you may still need the code later.
- Put global controls on the template base, not on every module.
- Create a version before large edits and before handing work to someone else.