Segmentation

Segmentation is now live. Target individual modules in any email to specific audience groups — fully integrated with your ESP, no custom setup required.
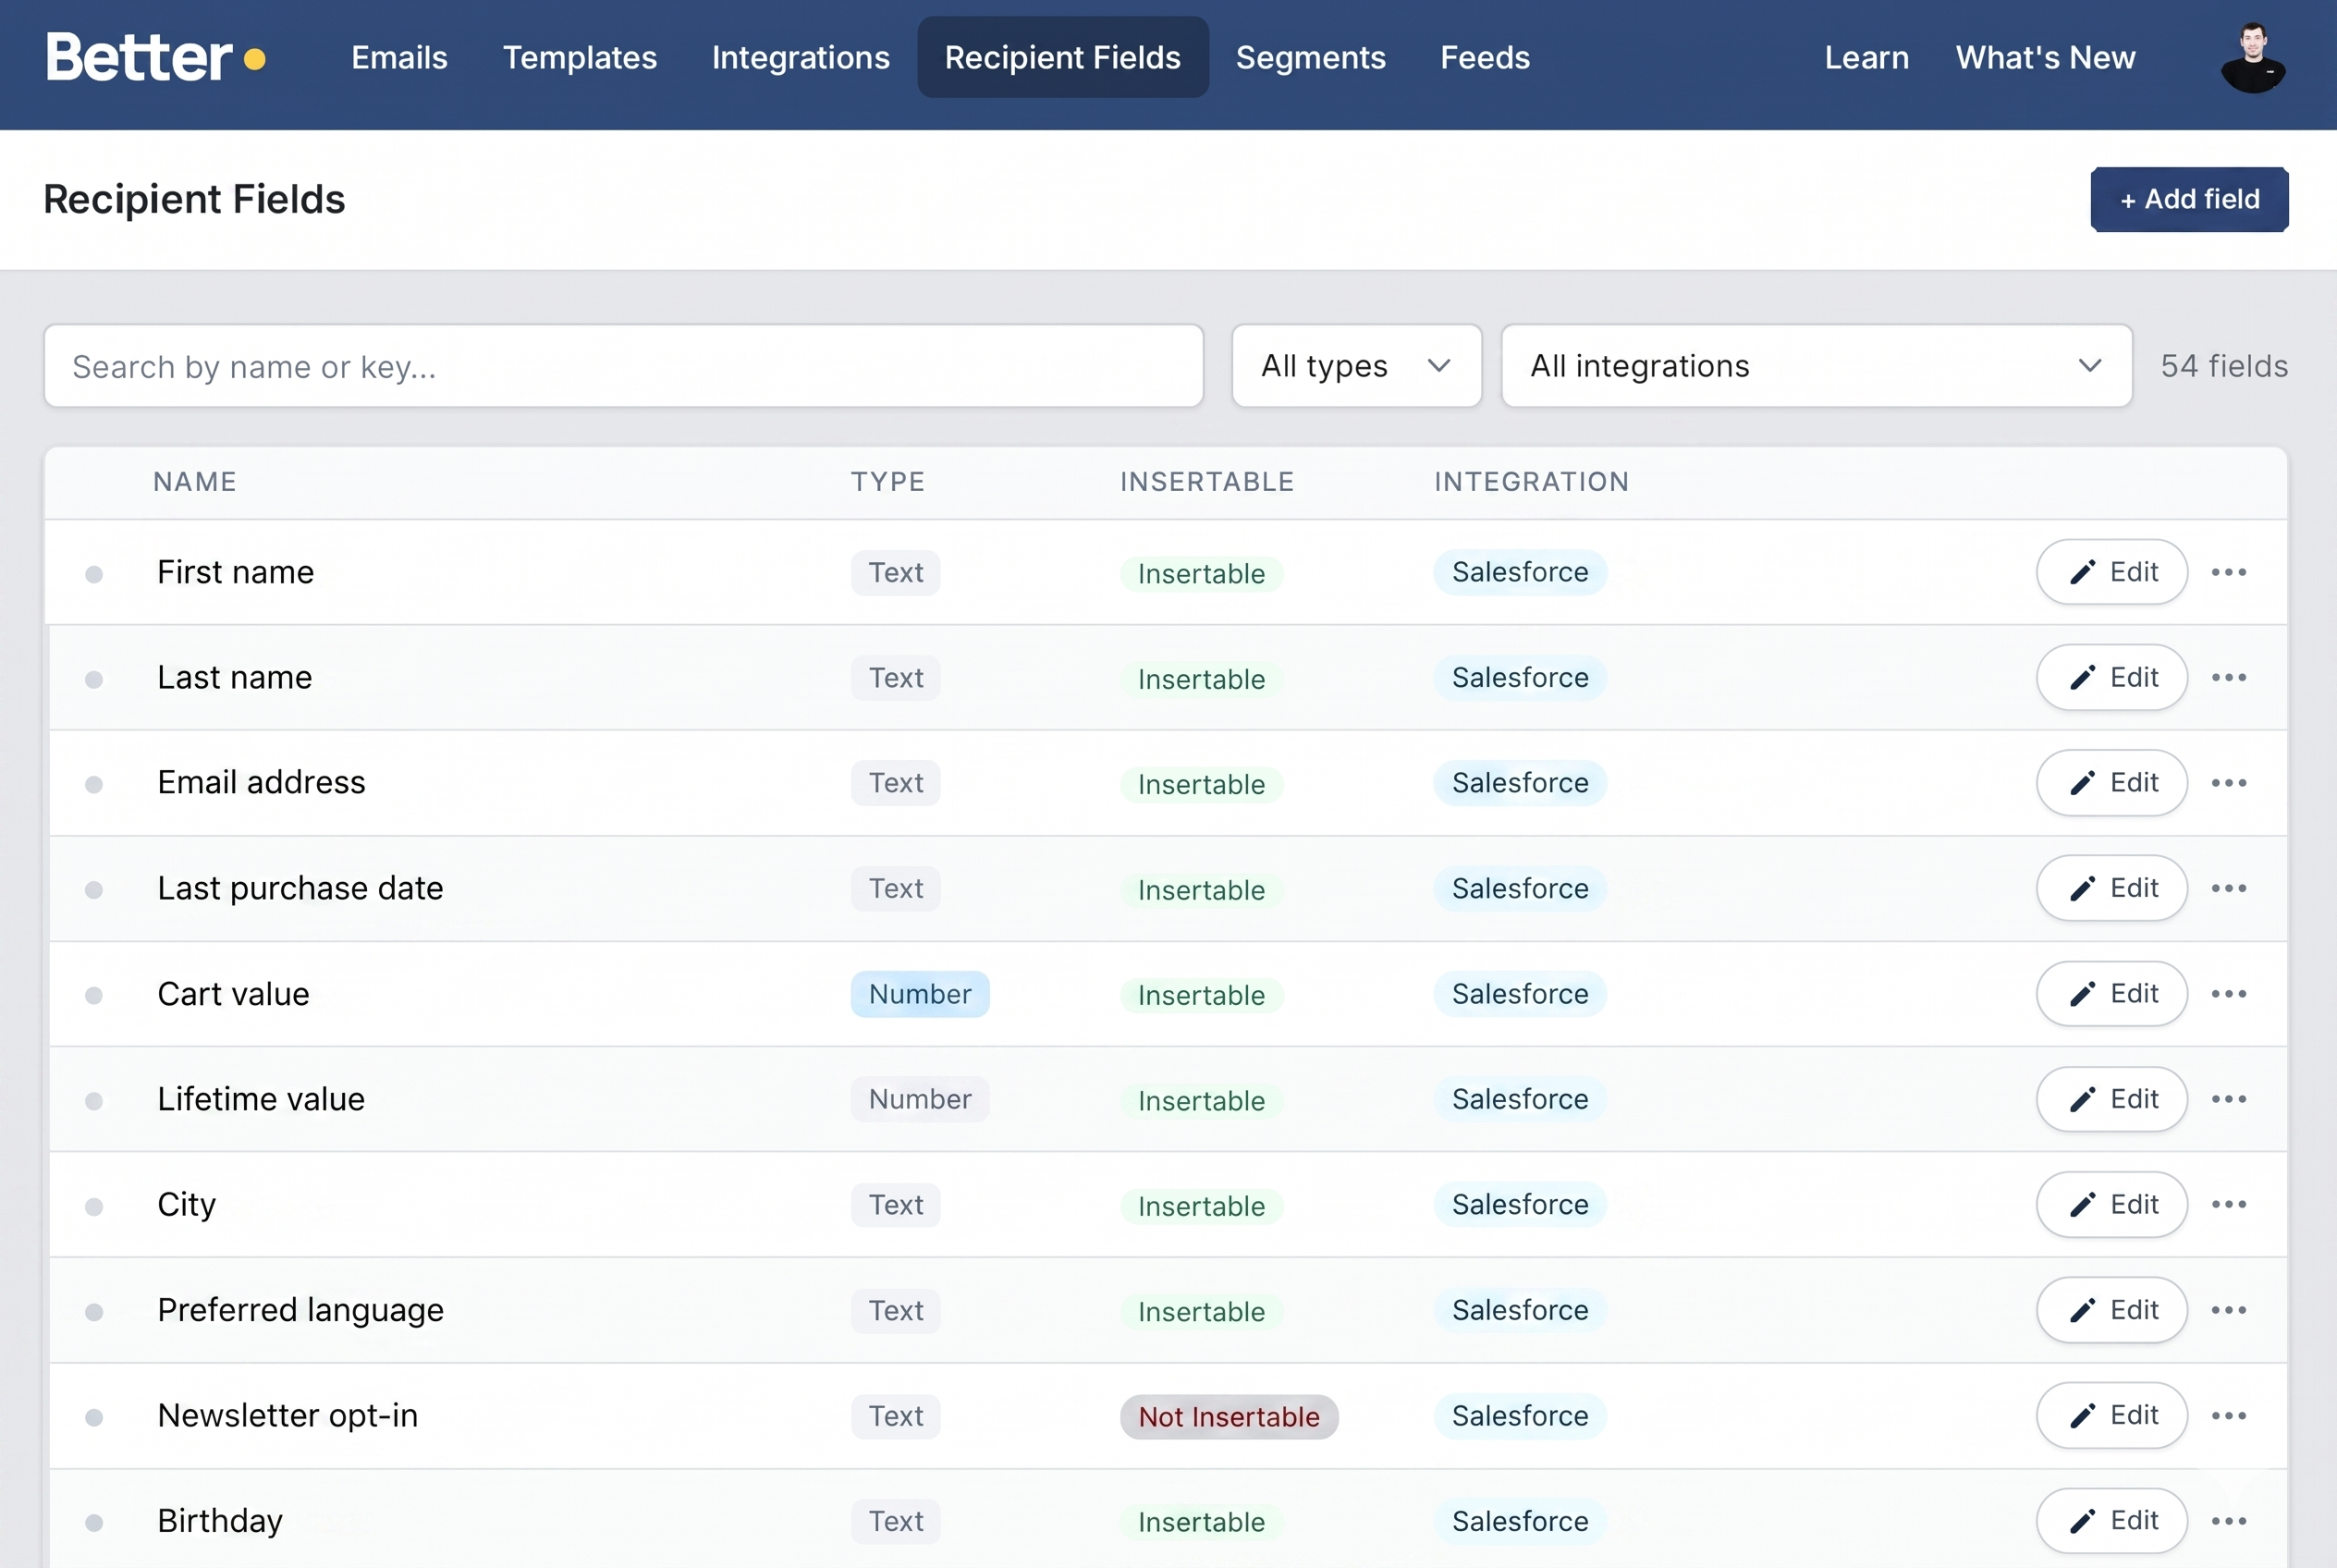
Step 1: Set up your recipient fields
Before you can build segments, Better Email needs to know which fields are available in your subscriber data. You can add fields manually or sync them directly from your ESP — for example, pulling attribute sets from Salesforce Marketing Cloud.
Once synced, your recipient fields are available across the platform and ready to use as segment conditions.
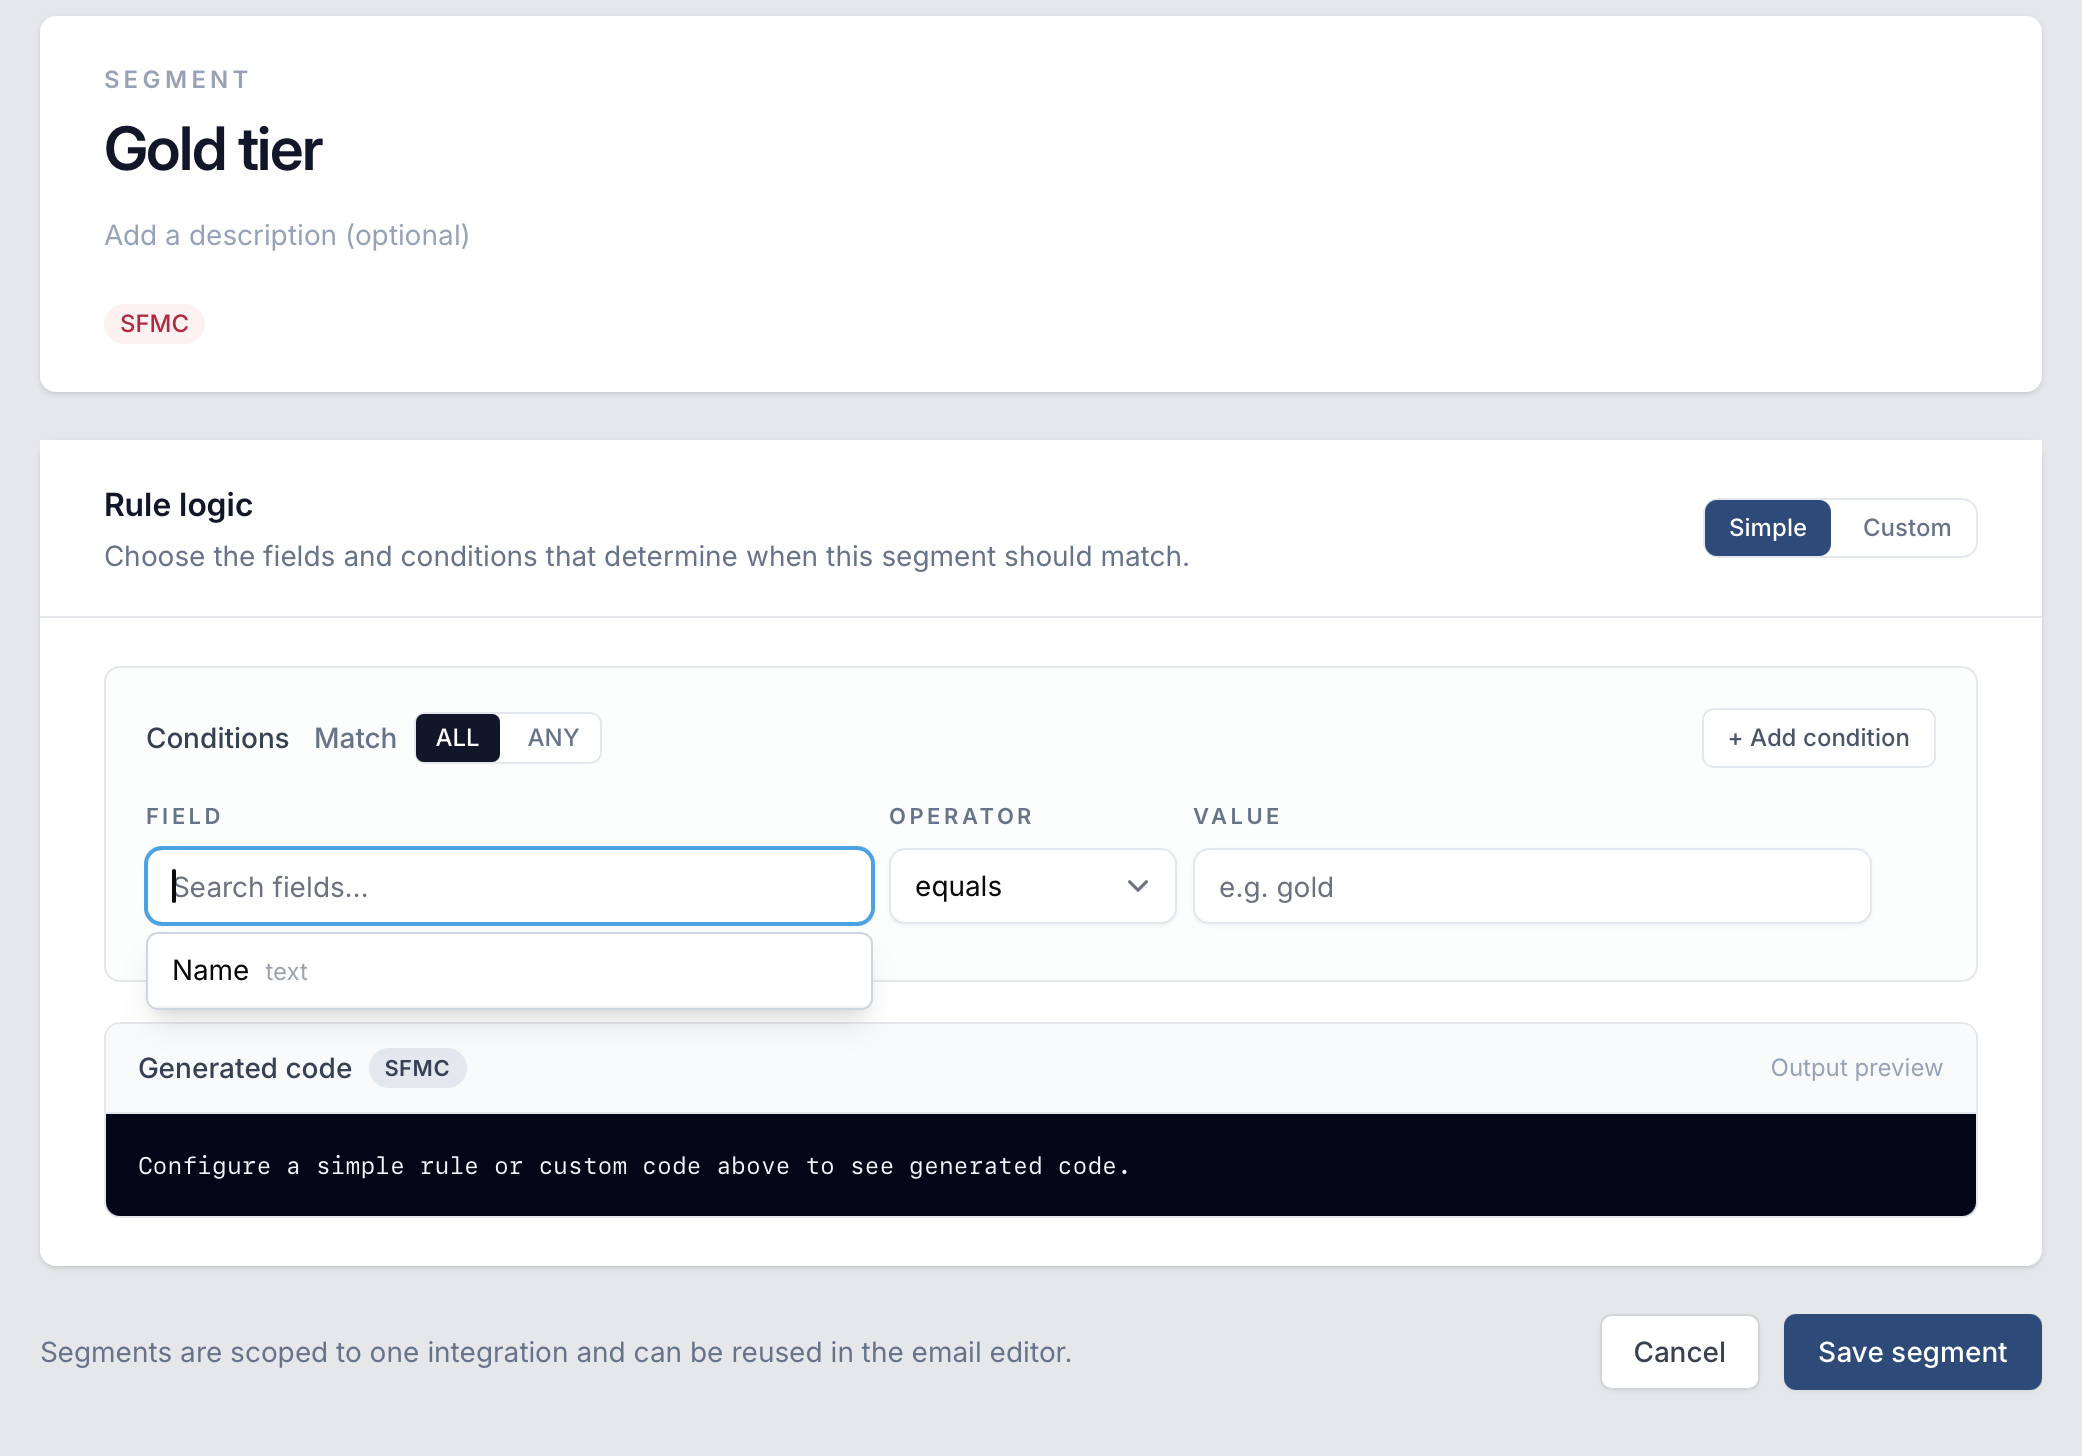
Step 2: Create a segment
Head to Segments in the top navigation and create a new segment. Each segment is tied to a specific integration and can be reused across emails.
Simple mode lets you build conditions using a visual rule builder — pick a field, choose an operator, and set a value. Better Email automatically generates the correct ESP-specific code for you.
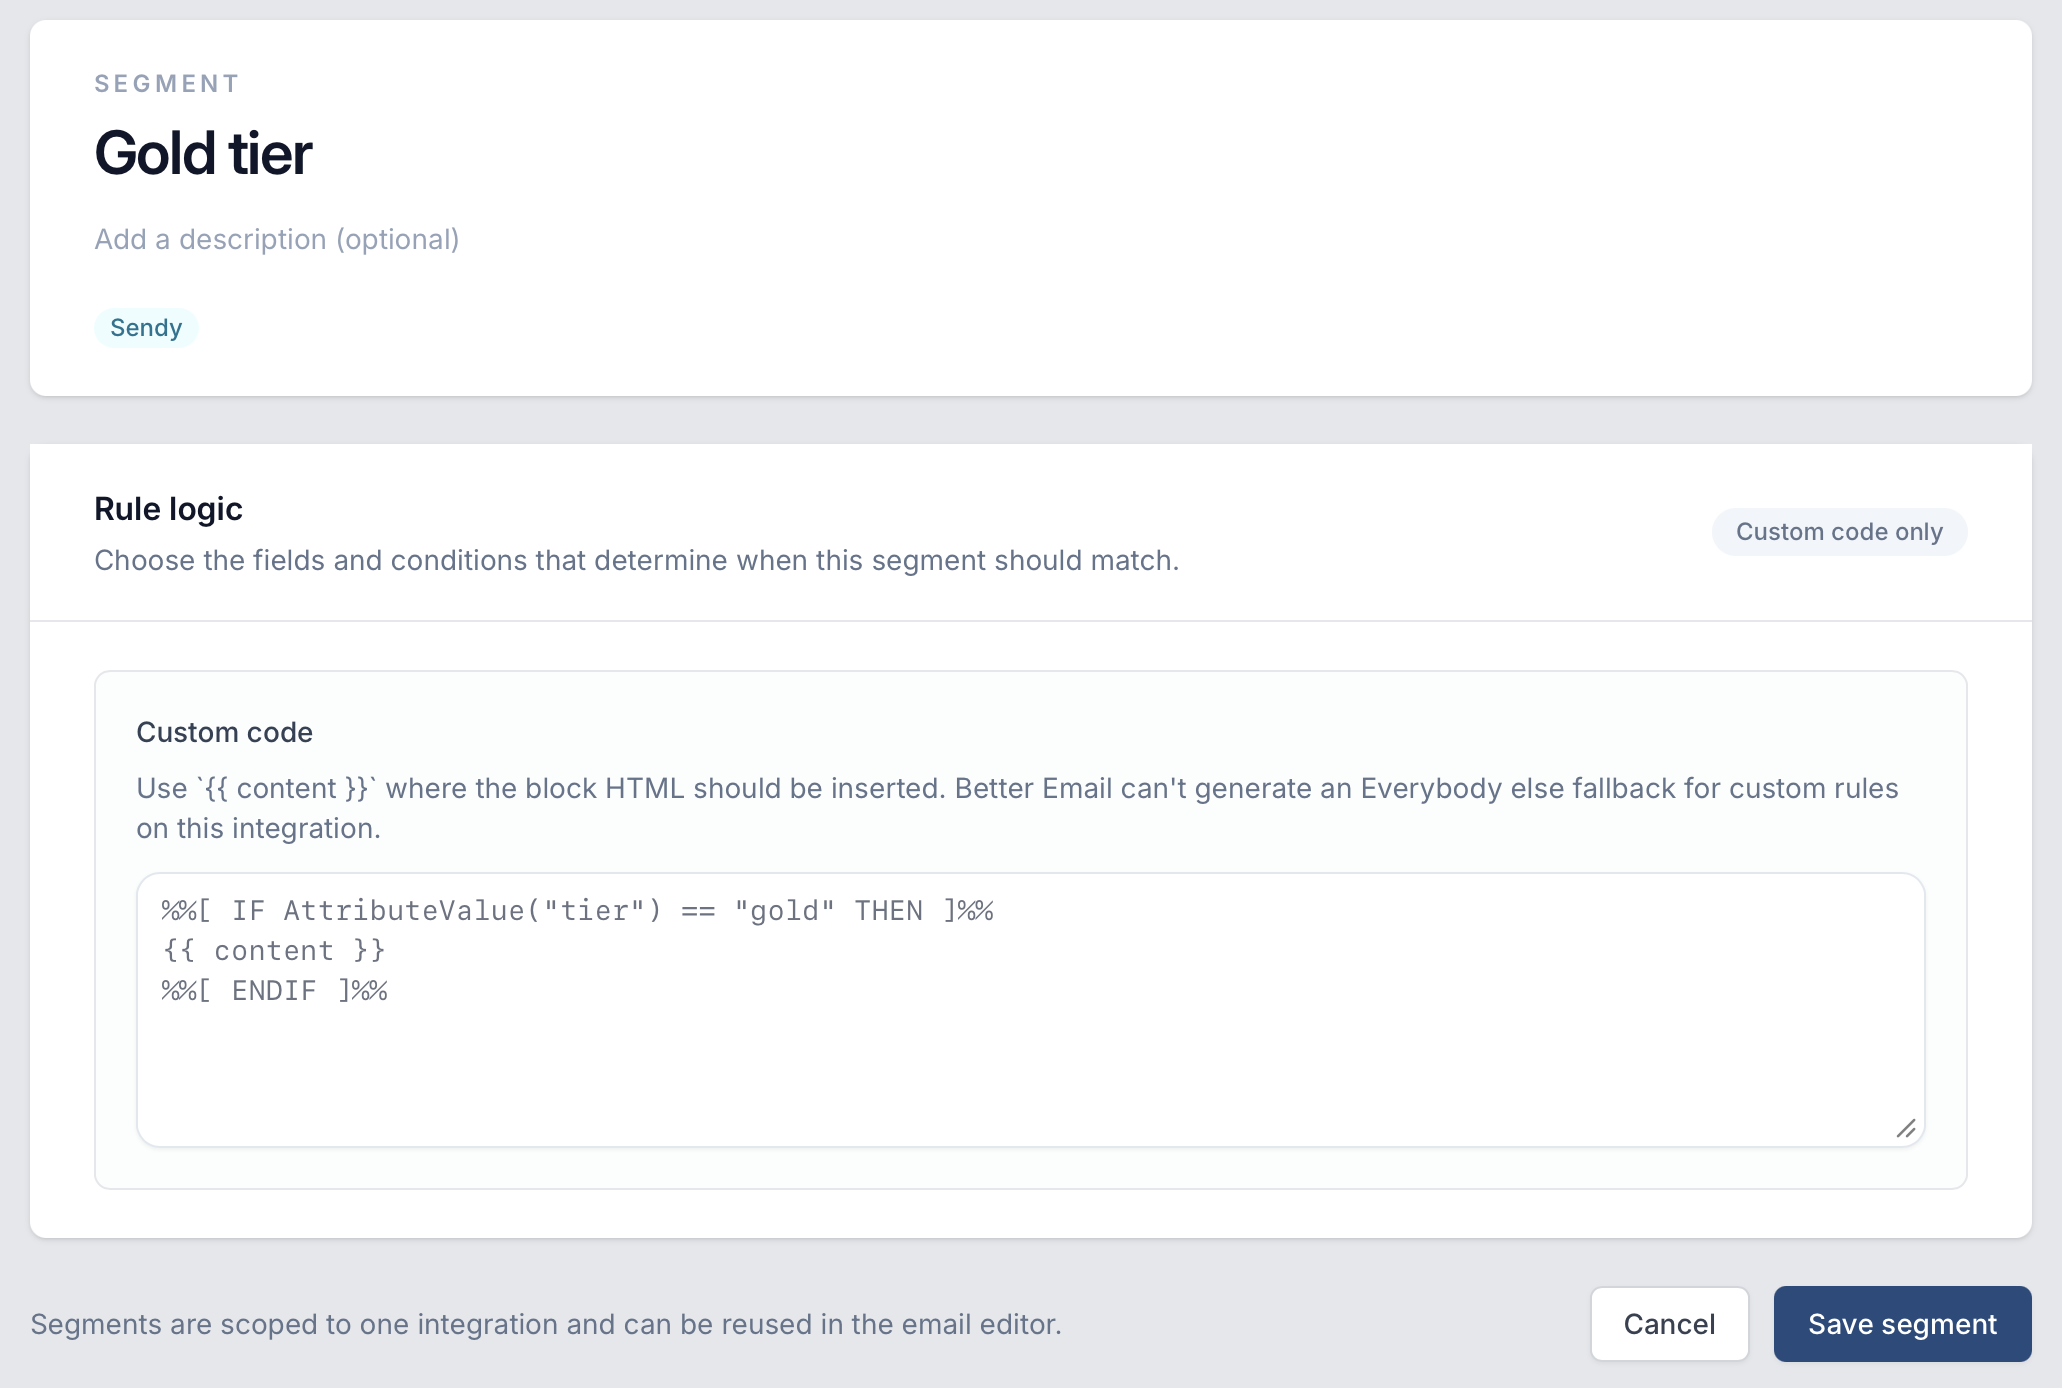
Custom code mode gives you full control. Write the conditional logic directly in your ESP's templating language and use {{ content }} as a placeholder for where the module HTML should be inserted.
Step 3: Apply segments in the editor
With segments created, you can apply them to any module directly in the email editor. Select a module, open the Segmentation panel in the right sidebar, and assign one or more segments to it.
Each segmented module supports multiple variants — one per segment — and an automatic Everybody else fallback for recipients who don't match any of the conditions.
Segments are reusable — define them once and apply them to modules across any email in your account.