Round buttons
Step 1: Choose a button
If you already have the code for your round button, then you can skip this step. We have created the best button for you. Does it not suit your needs, you can read this article, or generate a button here
Code for button:
<td class="button" align="center">
 <div>
     <!--[if mso]>
        <v:roundrect xmlns:v="urn:schemas-microsoft-com:vml" xmlns:w="urn:schemas-microsoft-com:office:word" href="{{ button.button_link }}" style="width:{{ buttonWidth }}px; height:60px; v-text-anchor:middle; border: 1px solid #000000; mso-padding-alt: 12px 55px 12px 55px;" arcsize="112%" stroke="f" fillcolor="#000000" strokecolor="#000000">
        <w:anchorlock/>
        <center>
    <![endif]-->
    <a class="button" href="{{ button.button_link }}" style=" background-color:#000000;border-radius:100px; color:#ffffff; display:inline-block;font-size: 18px; font-family: Open Sans, Helvetica, Arial sans-serif; font-weight:bold;line-height:22px;text-align:center;text-decoration:none;-webkit-text-size-adjust:none; min-width:45px; padding: 18px 30px; mso-padding-alt: 0 30px;">{{ button.button_text }}</a>
    <!--[if mso]>
        </center>
        </v:roundrect>
    <![endif]-->
    </div>
</td>
The button looks like this:

Step 2: Make the button editable
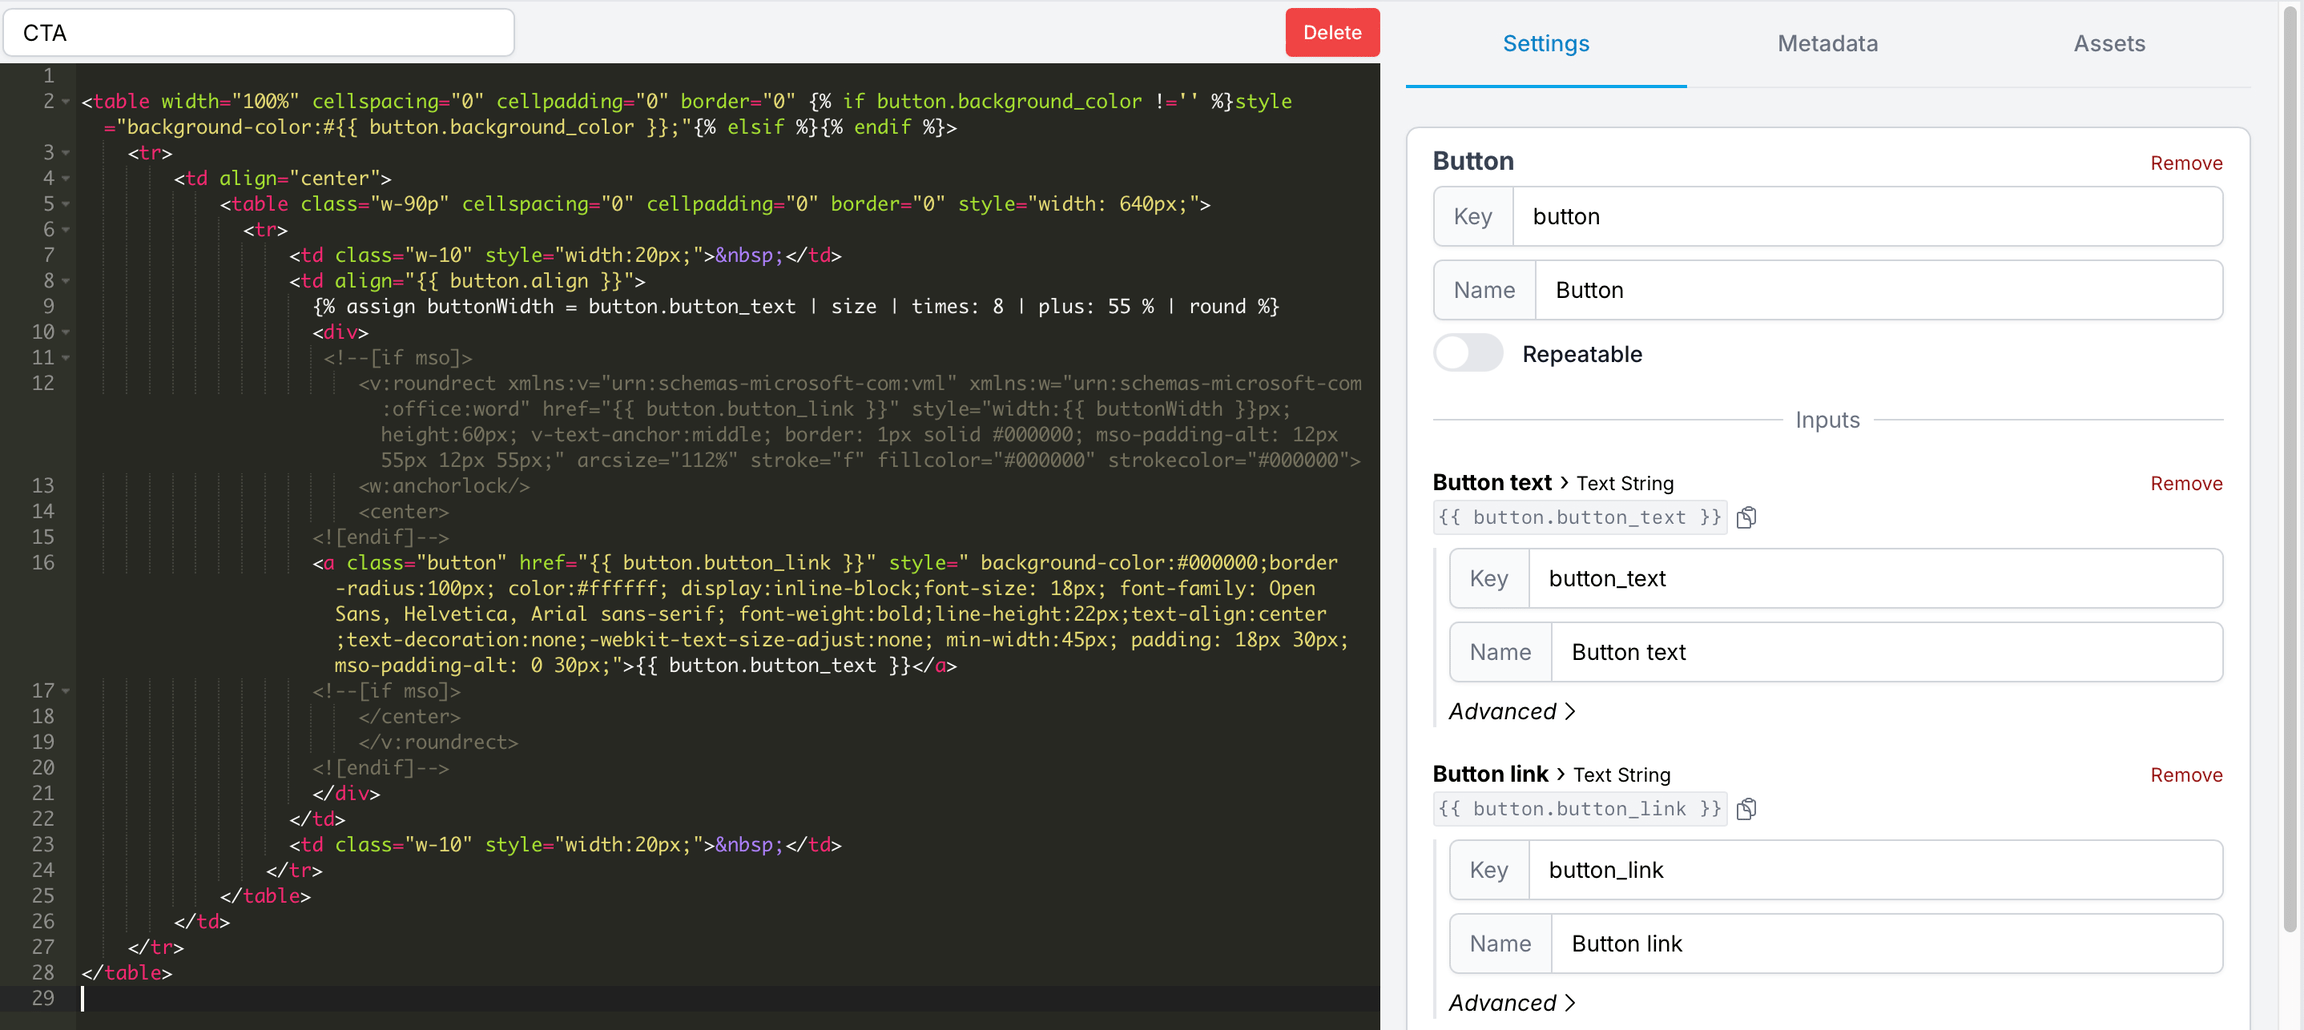
Create a New Module and paste in the code for the button.
We will make 2 Text Strings, so we can adjust: - write text - insert a link

note
Note that there is 2 href in this example
Step 3: Check that everything works
If you made it this far, you are awesome ✨