Bullet list
Normal bullets in emails <ul>/<ol> are not supported in all email clients, and renders different in many clients. In this article, we are gonna show you how you can create a custom bullet list, that will look the same across all platforms.
Step 1
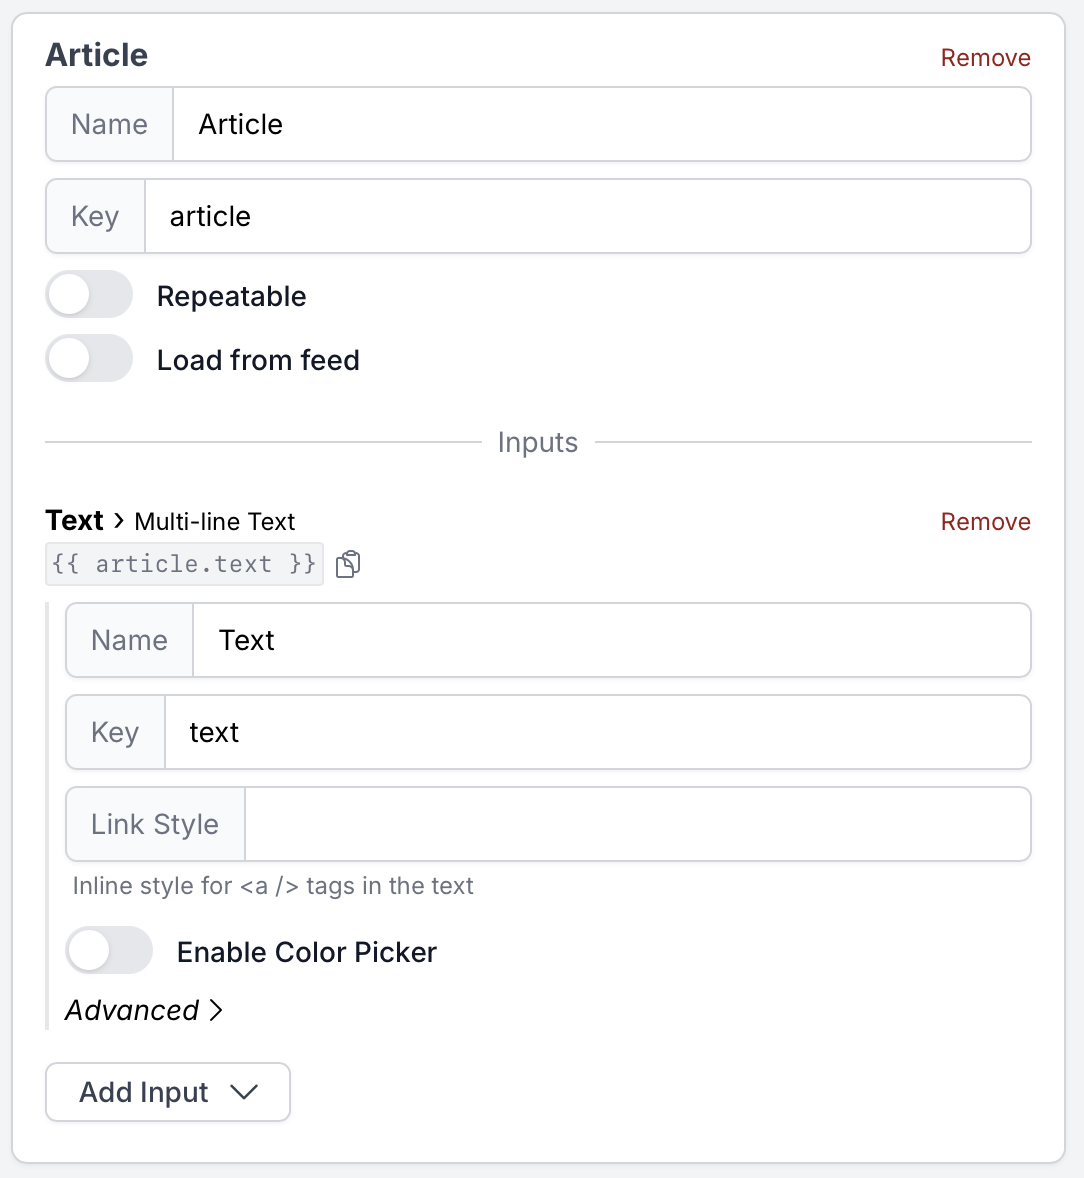
Add your setting. In this case, we call the setting article Add an input and chose Multi-line Text and call it text. Now we can add the code

Step 2
Make your first variable. We create the variable bulletlist for our Mutli-line Text field article.text Each bullet will be splitted with a semicolon
{% assign bulletlist = article.text | split: ";" %}
Step 3
We can now loop our variable.
{% assign bulletlist = article.text | split: ";" %}
{% for bullet in bulletlist %}

{{ bullet }}

{% endfor %}
Full Example
<table cellspacing="0" cellpadding="0" border="0" style="width: 100%;">
<tr>
<td align="center">
<table class="w-90p" cellspacing="0" cellpadding="0" border="0" style="width: 600px;">
<tr>
<td class="w-20" style="width:30px;"> </td>
<td align="left">
<table cellspacing="0" cellpadding="0" border="0">
{% assign bulletlist = article.text | split: "<br>" %}
{% for bullet in bulletlist %}
<tr>
<td class="w-left" align="left" style="font-family: 'Avenir Next', Arial, Helvetica, sans-serif; color:#{{ textColor }}; font-weight: 500; font-size: 16px; line-height:20px;">
•
</td>
<td style="width:10px;"> </td>
<td class="w-left" align="left" style="font-family: 'Avenir Next', Arial, Helvetica, sans-serif; color:#{{ textColor }}; font-weight: 500; font-size: 16px; line-height:20px;">
{{ bullet }}
</td>
</tr>
<tr>
<td colspan="3" height="5" style="height:5px; font-size:1px; mso-line-height-rule:exactly; line-height:1px;"> </td>
</tr>
{% endfor %}
</table>
</td>
<td class="w-20" style="width:30px;"> </td>
</tr>
</table>
</td>
</tr>
</table>